Welcome to Hunter Plastics

Did you know your Internet Explorer is out of date?

To get the best possible experience using our website we recommend that you upgrade to a newer version or other web browser. A list of the most popular web browsers can be found below.

Just click on the icons to get to the download page

If you understand that your browser is inadequate but you still wish to view the site click here

News

Get your gutters ready for winter

Now that the nights are drawing in and Christmas is just around the corner, it’s that time of year where you get out in the garden and start to prepare for the wetter months. One job which is often overlooked is the clearing out of the gutters and checking they are in good working order.

The simple steps below guide you through how you can get your gutters working in top order:

  1. Clear out any loose leaves and moss, starting from the gutter outlet and working away. Use gloves and a trowel to scoop all the debris up into a bucket to prevent making a mess of the house or the ground below.


  2. Once all the debris has been removed, use a pressure hose to blast the remaining dirt away. Work down the length of the gutter heading towards the downpipe. Again, take care to try and not splash the water too much, to prevent it going over the walls of the house.


  3. If remaining dirt doesn’t wash away then try using a stiff scrubbing brush to remove any encrusted dirt left behind.


  4. Clear any obstruction in the downpipe by flushing water through the downpipe.


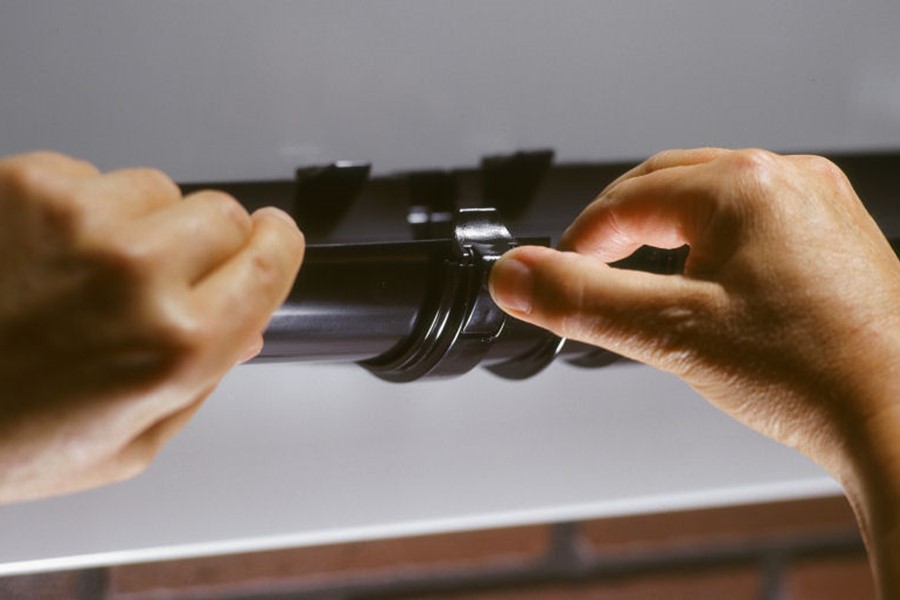
  5. Once the gutters are clean, run water through the system and check for any leaks, especially along joints and around the downpipe. If you see any leaks then you may need to replace part or all of the system, using the steps below. If you can’t find the information that you require, please call our Technical Services team on 01622 852695.

Replacing the gutter seal:

  1. Working off a suitable platform, simply unclip the gutter from the fitting and remove the old seal.


  2. Taking the new seal, put it into the recess where the old one had come from, trimming to suit, if necessary.


  3. Next clip the gutter back into place. NB: If you are having any difficulties clipping it back together, try using a bit of silicone spray or snipping off the end of the seal.


  4. Retest the gutter by filling the system with water. 

Replace a joint bracket / angle / outlet:

  1. Working off a suitable platform, simply unclip the gutter from the fitting and remove.


  2. Position the new fitting and clip it back into the gutter. NB: If you are having any difficulties clipping it back together, try using a bit of silicone spray or snipping off the end of the seal.


  3. Retest the gutter by filling the system with water.

Replacing a section of gutter:

  1. Working off a suitable platform, simply unclip the gutter from the fittings at each end and remove.


  2. Using the old piece of gutter as a template, cut the new length of gutter using a fine tooth saw.


  3. Secure the cut gutter and remove any swarf using a deburring tool or half round file.


  4. Position the new gutter by reattaching the fittings at each end. NB: Clip the back of the gutter in first and then the front.


  5. Retest the gutter by filling the system with water.

Replacing the whole system:

Need to replace the whole system? Have a look at our Rainwater range or at our rainwater calculator to work out the best gutter for the job.

For further assistance call our Technical Services department on 01622 852695.

Date Published: April 2016

Requirements List

The item has been added to your Requirements List

OK
Requirements List
Requirements List
Continue