


How to install a Rainwater system
On face value, guttering installation is a piece of cake, but it is amazing how many installers get it wrong. In fact in a survey by one of the UK's largest warranty providers, nearly a quarter of the owners of new build homes reported guttering problems that subsequently had to be rectified.
Installers need to give some careful consideration to a number of factors if they are to avoid those dreaded call backs. That means thinking about not just the profile and colour, but more importantly if the system is not to fail, size.
Fitting a profile that's too small could cause you problems with call-backs when it fails to cope with the water flowing off a large roof. If you are working on a larger project - a school, sports hall, apartment block or even a larger house - then using an ordinary domestic system means that you will need to fit more downpipes and that not only costs more but also may not fit in with your customer's aesthetic requirements.
To make sure you get it right and avoid call backs, this is Hunter Plastics essential guide to fitting Surefit guttering:
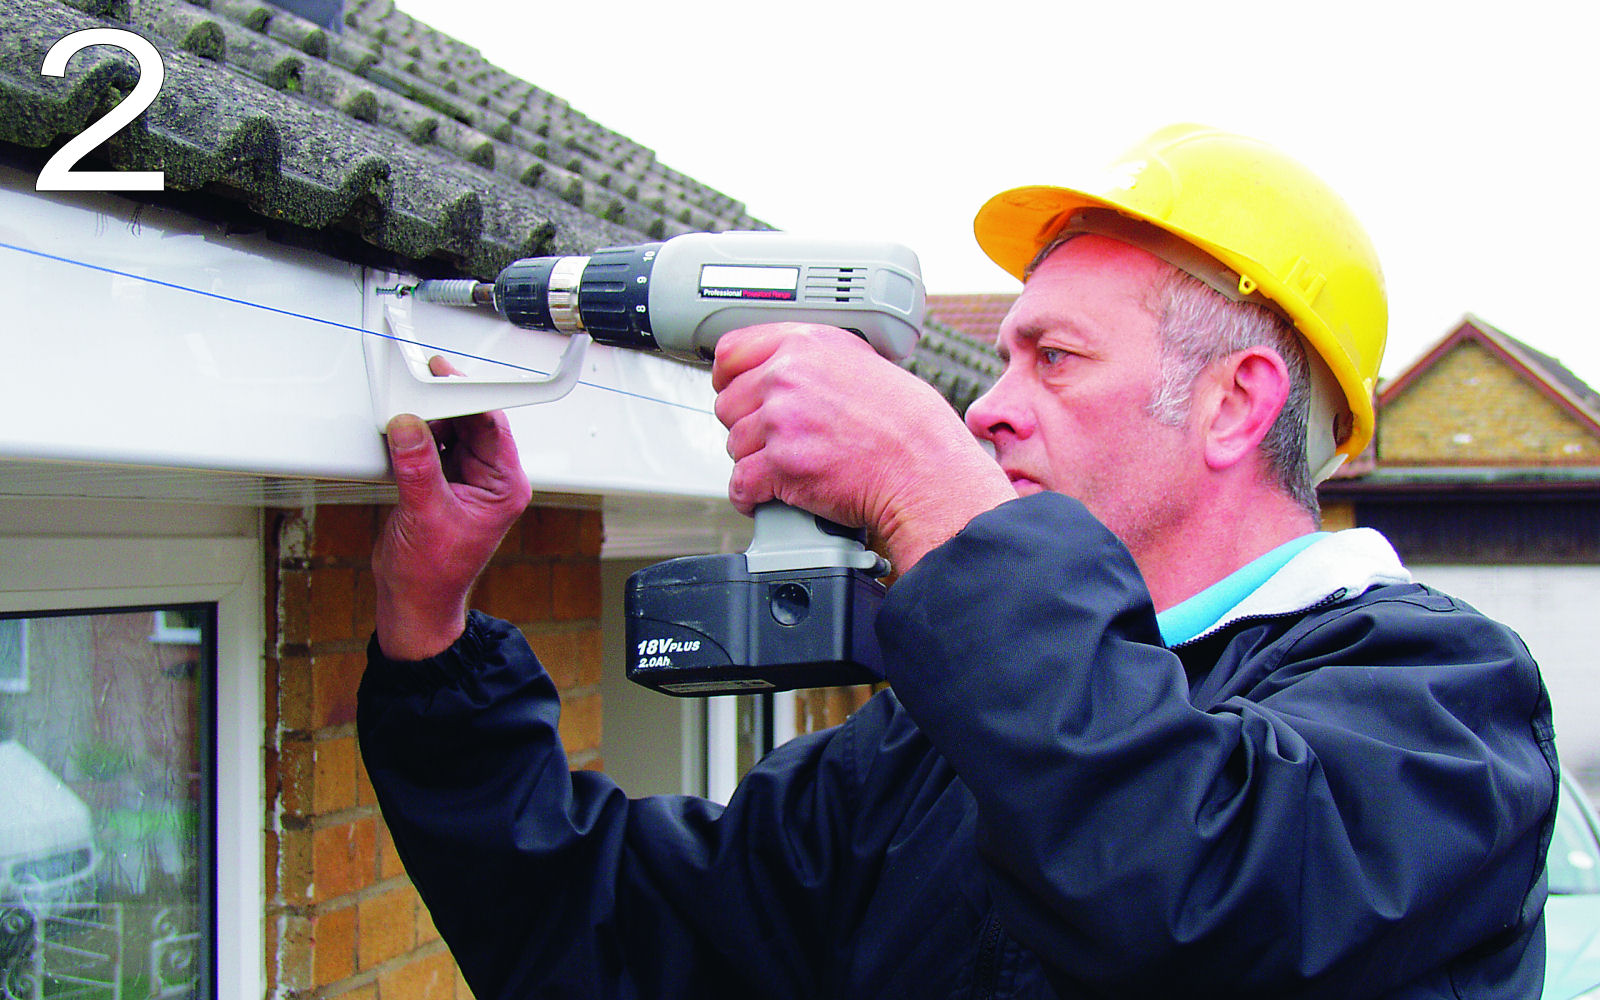
1. Before starting work, identify position of drain, run a plumb-line and fix gutter outlet. Check fascia is level.
2. Fix support bracket at furthest end and run a string-line to the outlet.
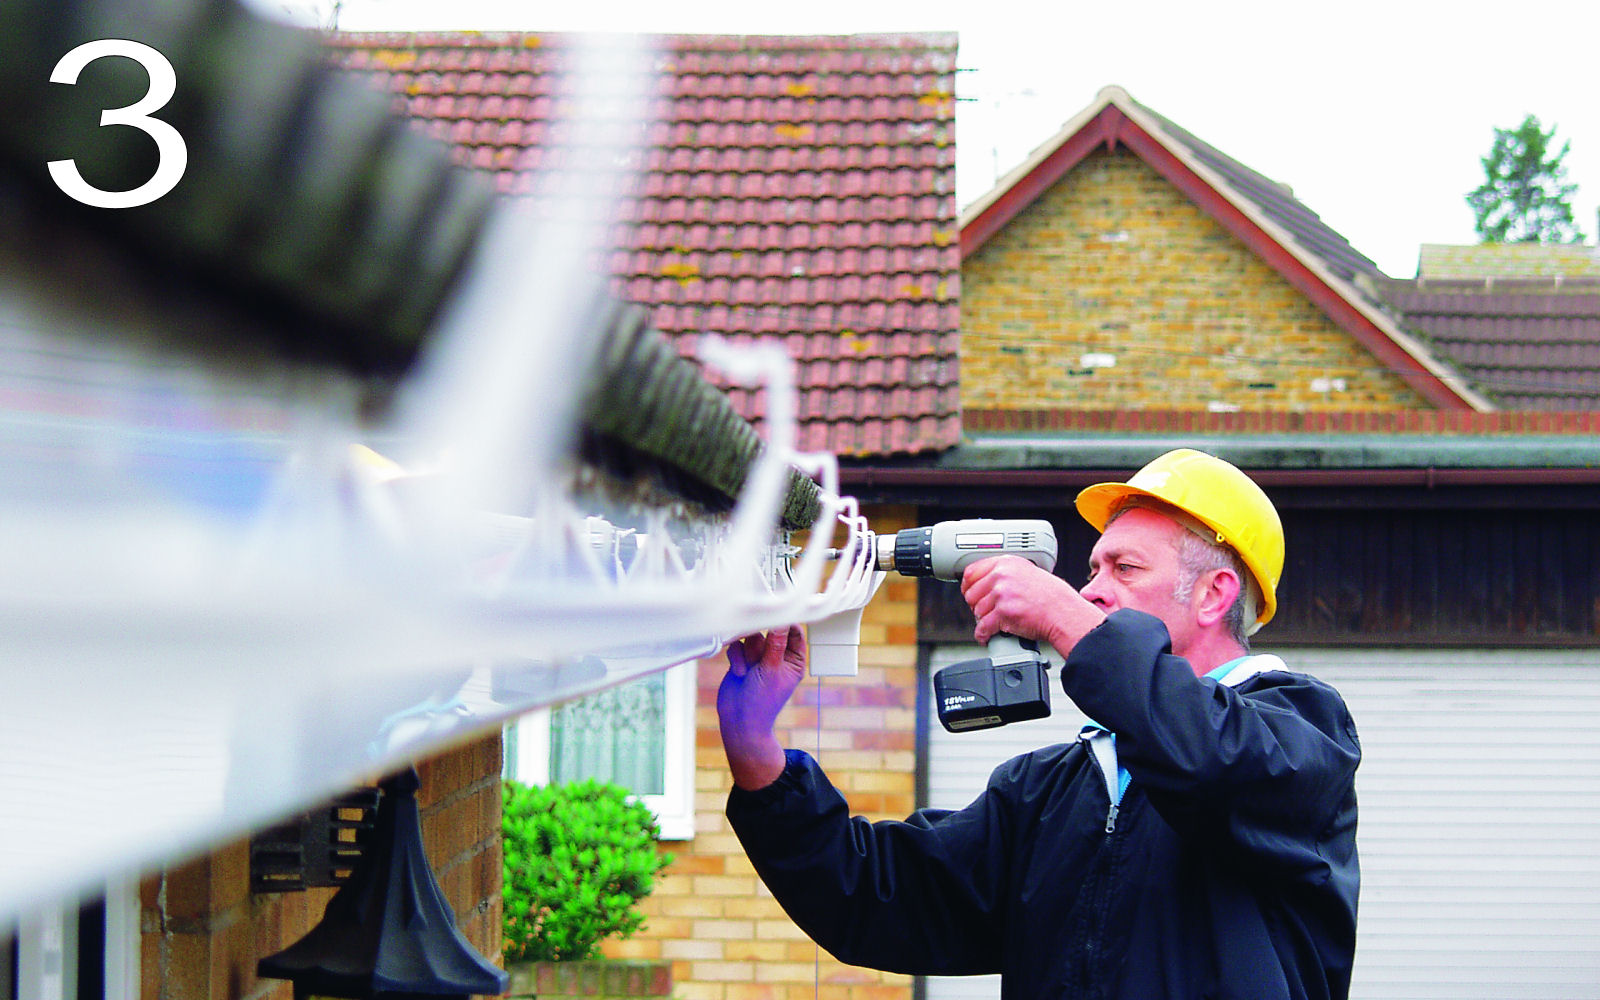
3. From outlet, fix support brackets at a maximum of one metre centres.
4. Insert gutter to the ‘insert to here’ line on the first fitting. At the other end of the gutter mark the position of the next fitting on the fascia.
5. Remove gutter and fix next fitting using your mark line. Ensuring fittings are level by using a string line.
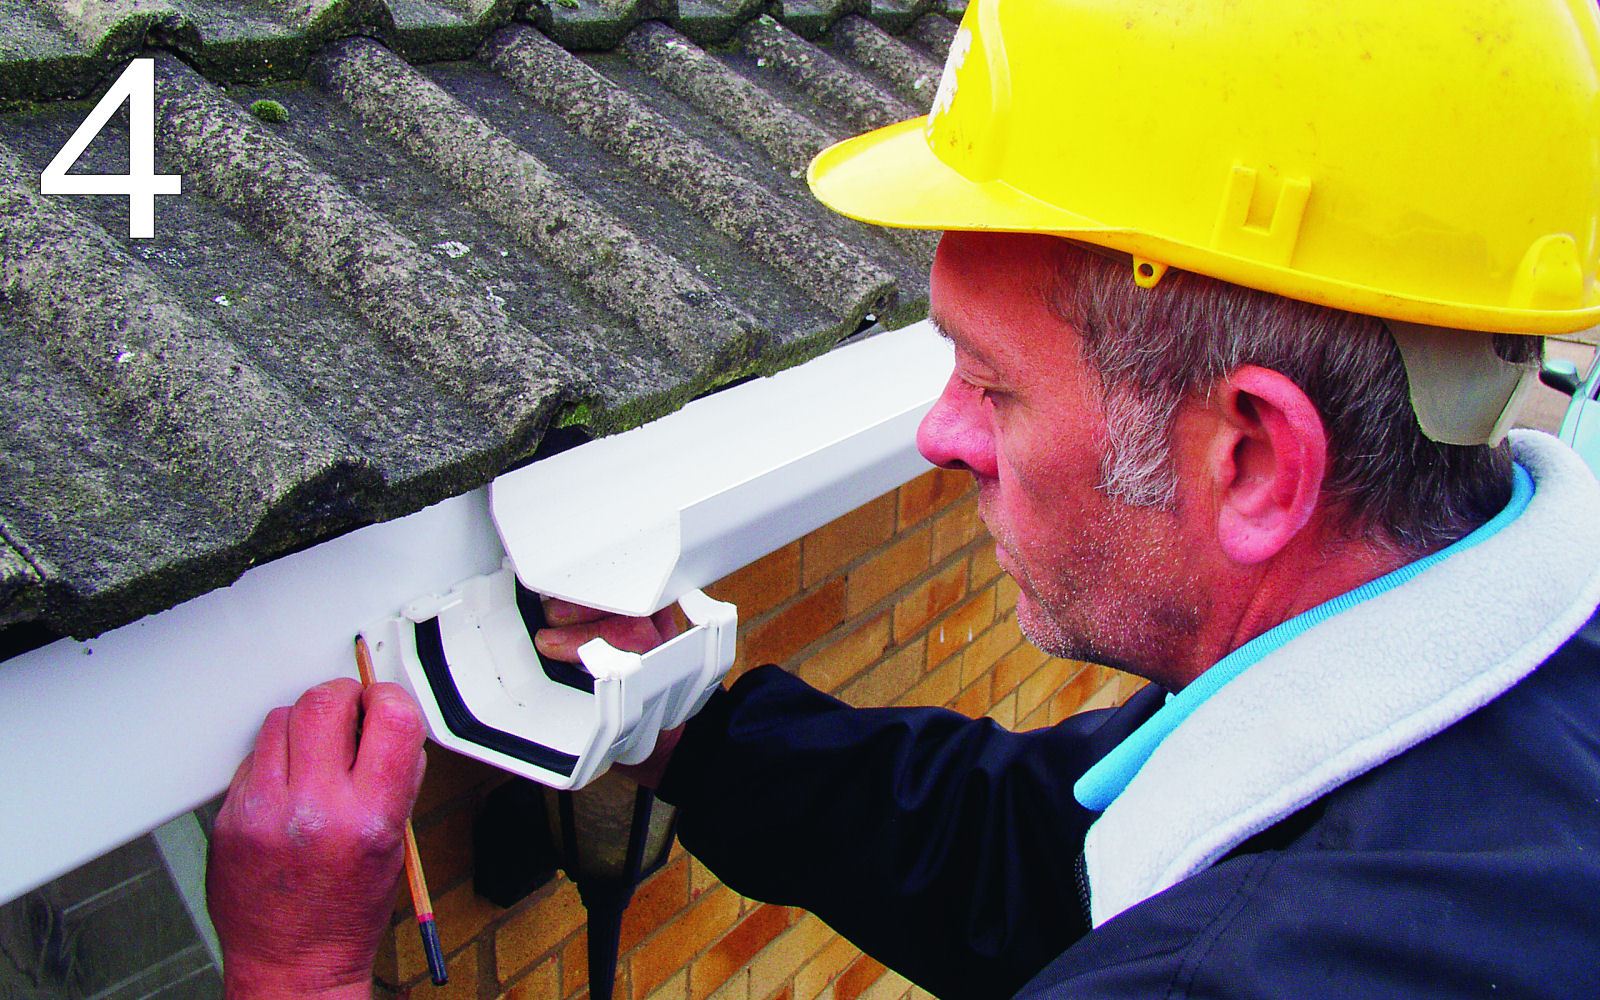
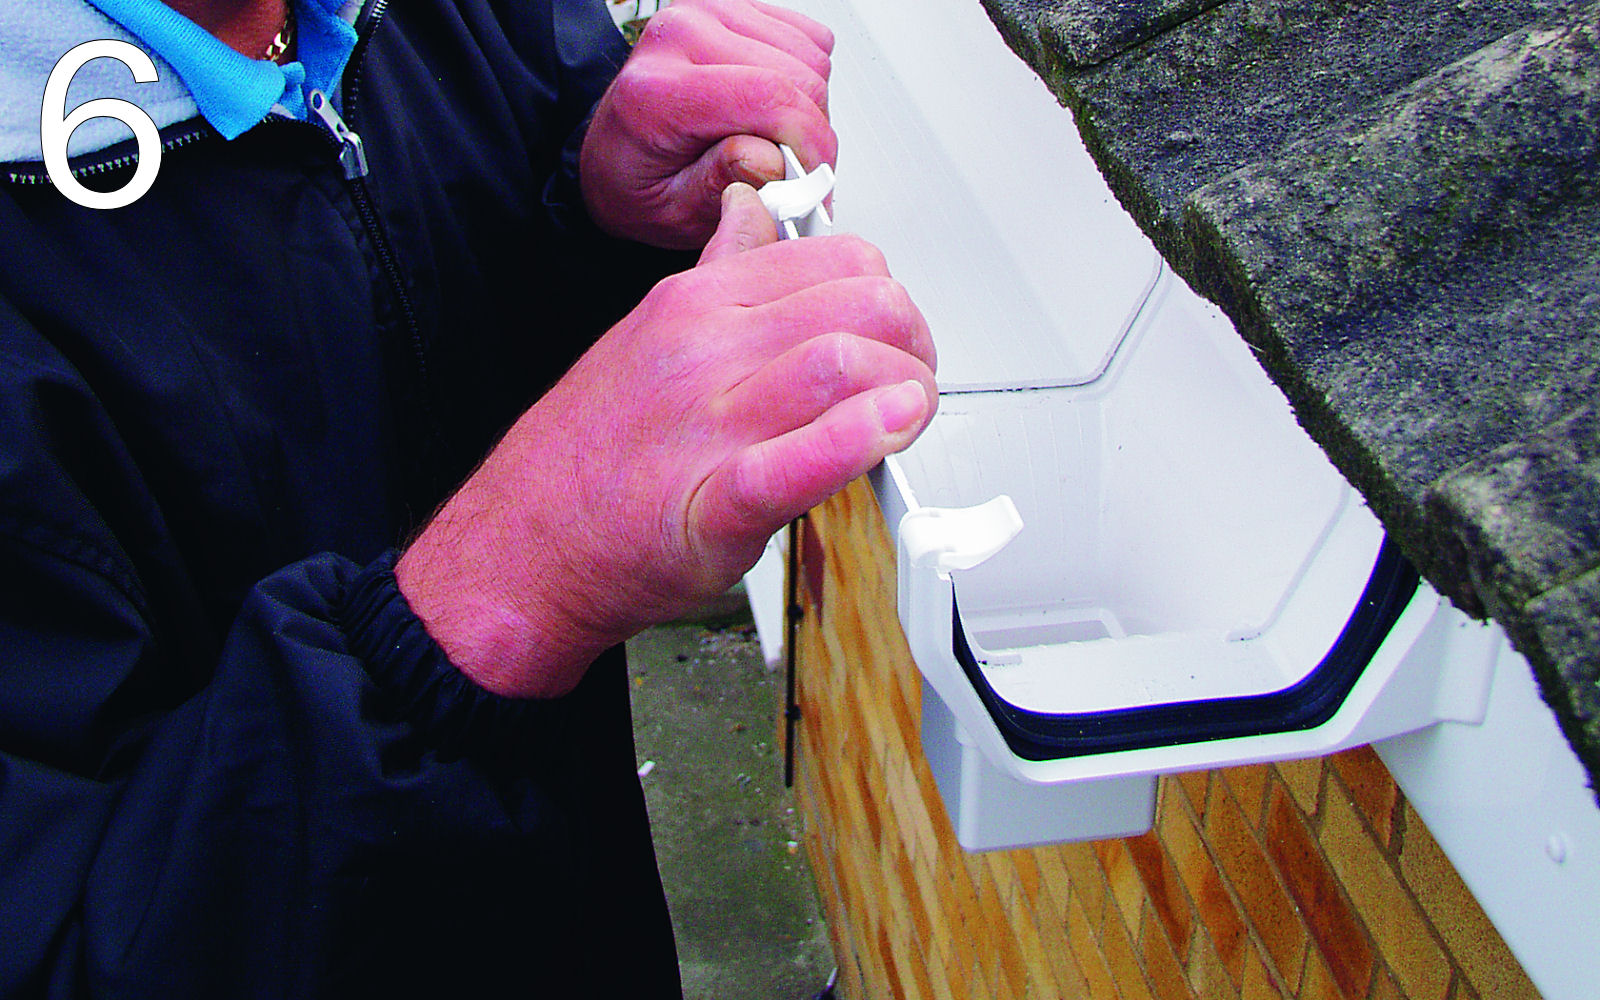
6. Fit length of gutter and stopend, with support bracket at furthest end.
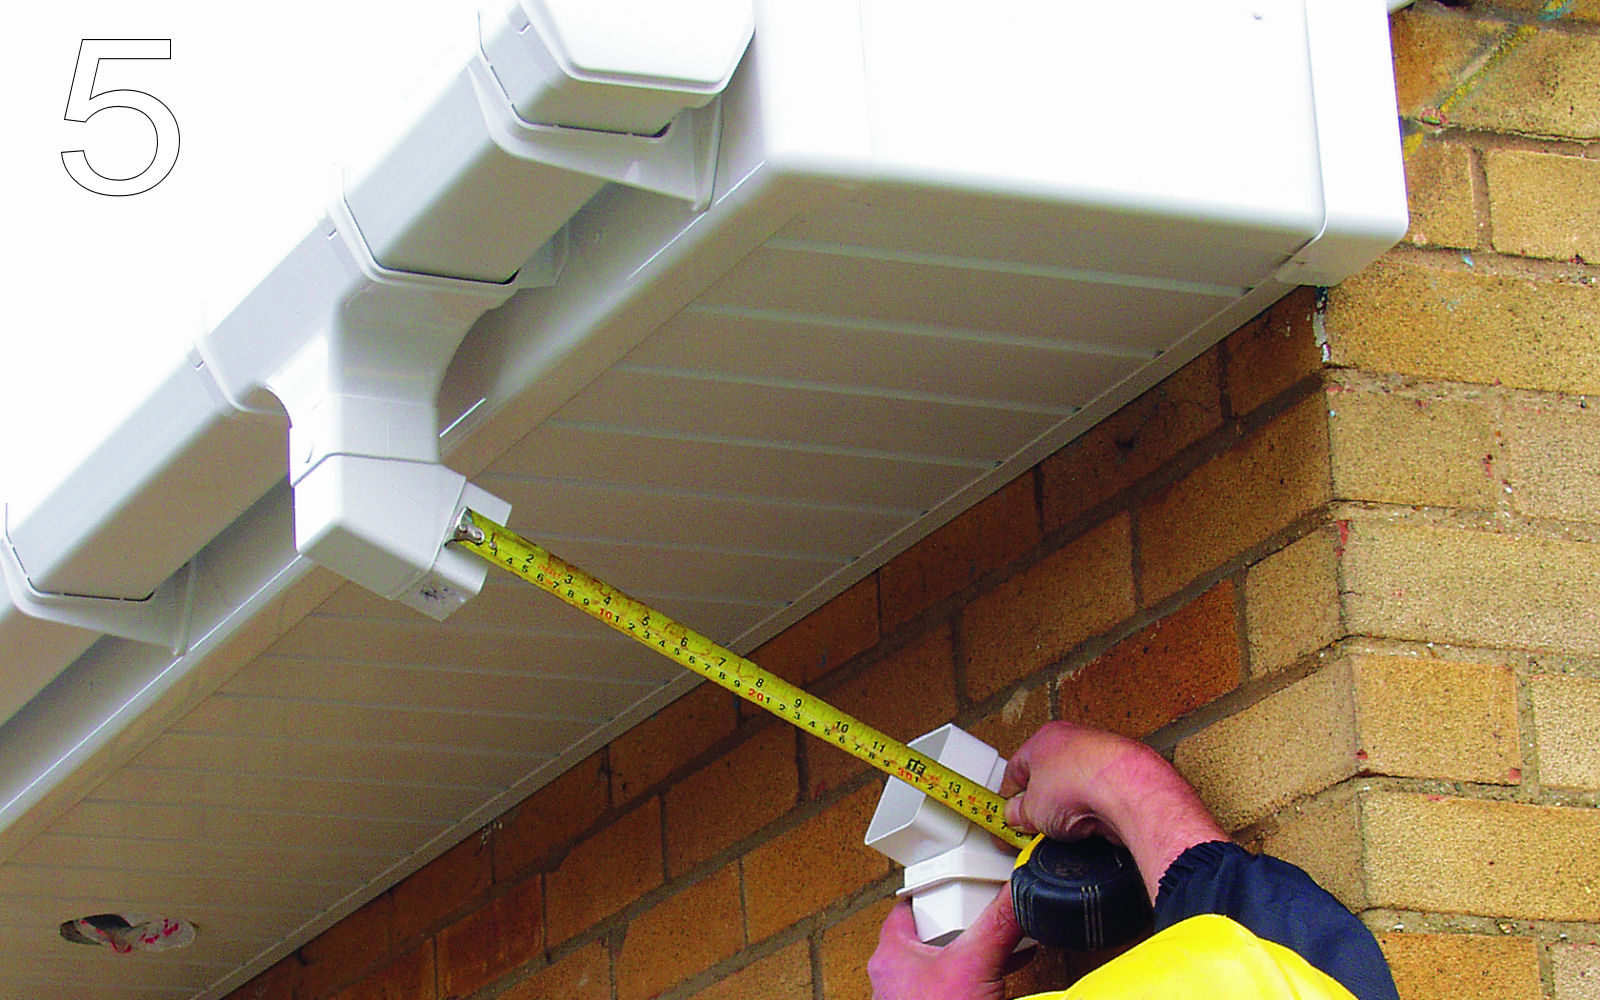
7. Fit top offset bend to outlet, then using bottom offset determine length of pipe required.
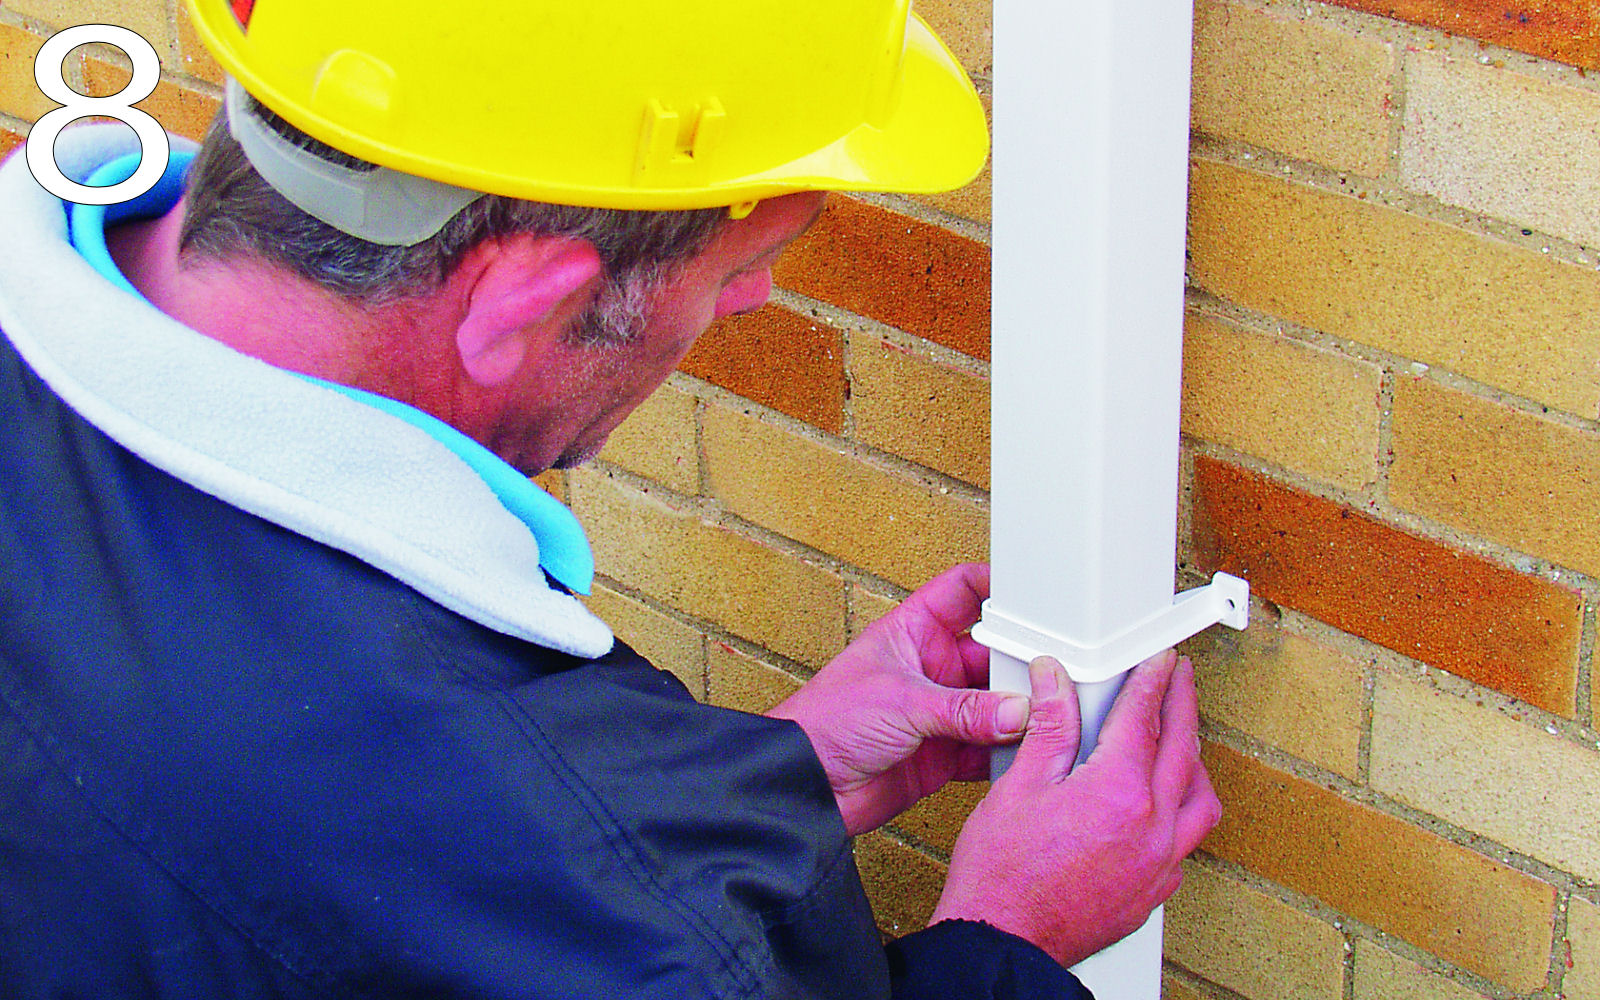
8. Fit a pipe clip below the bottom offset, then at a maximum of two metres apart.
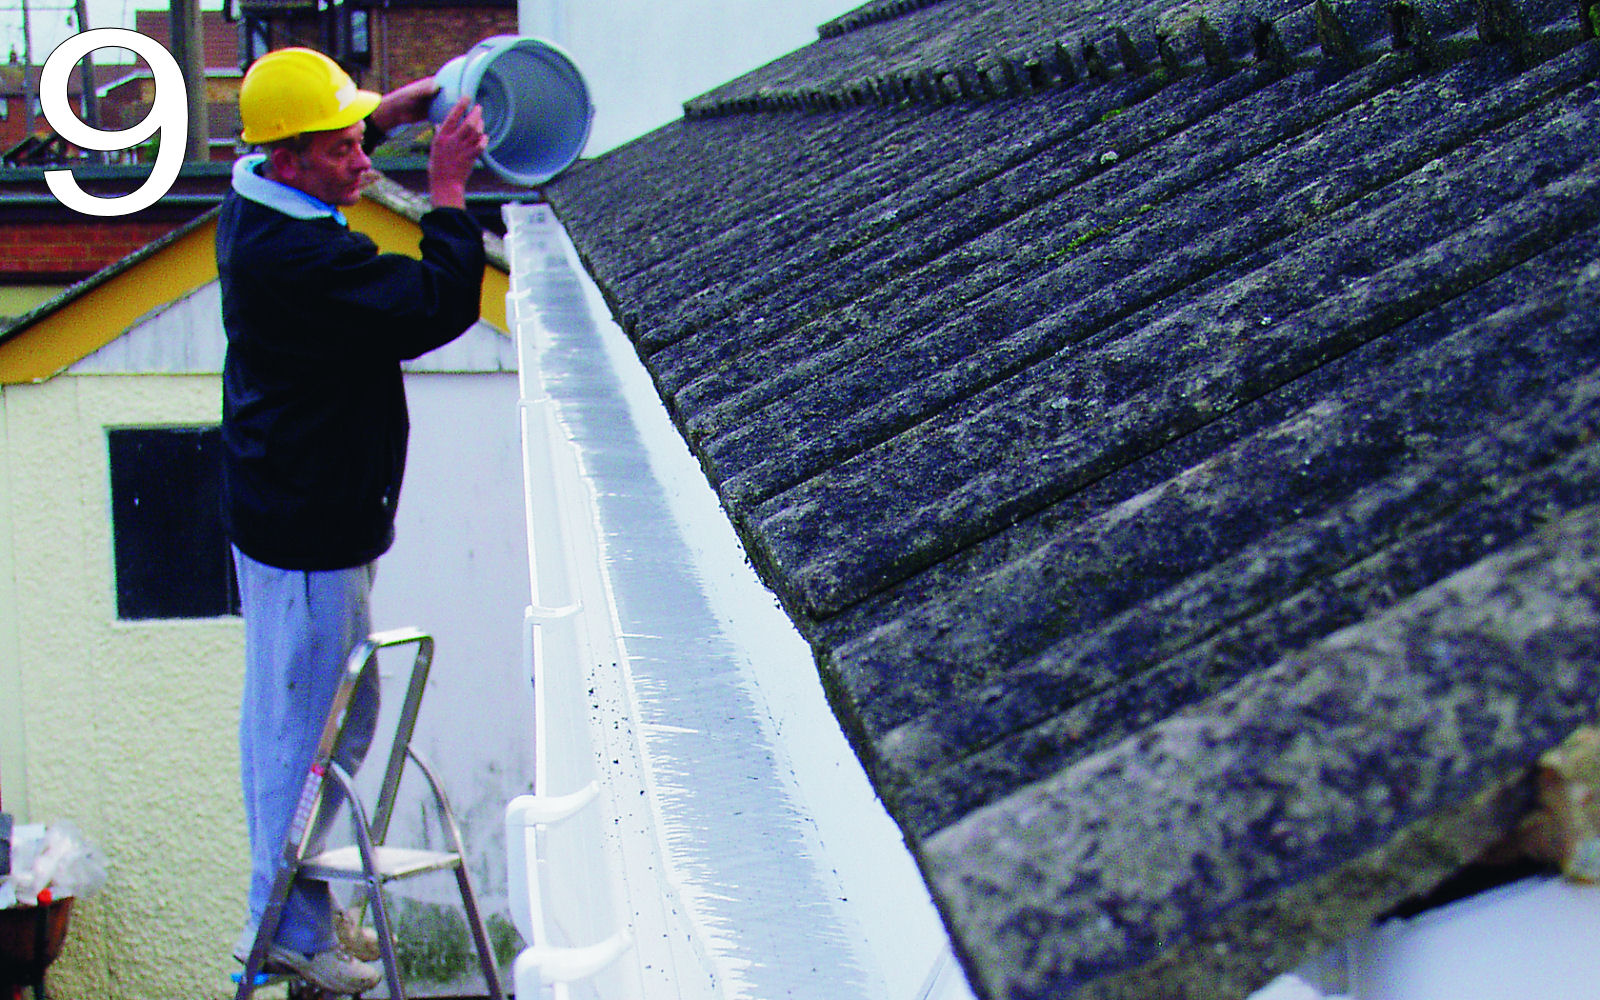
9. Check water tightness by blocking off any outlet and performing a static water test.
Download a copy of the installation guide here.